Mini Heart Cake with Chocolate Sponge
Highlighted under: Dessert & Baking Essentials
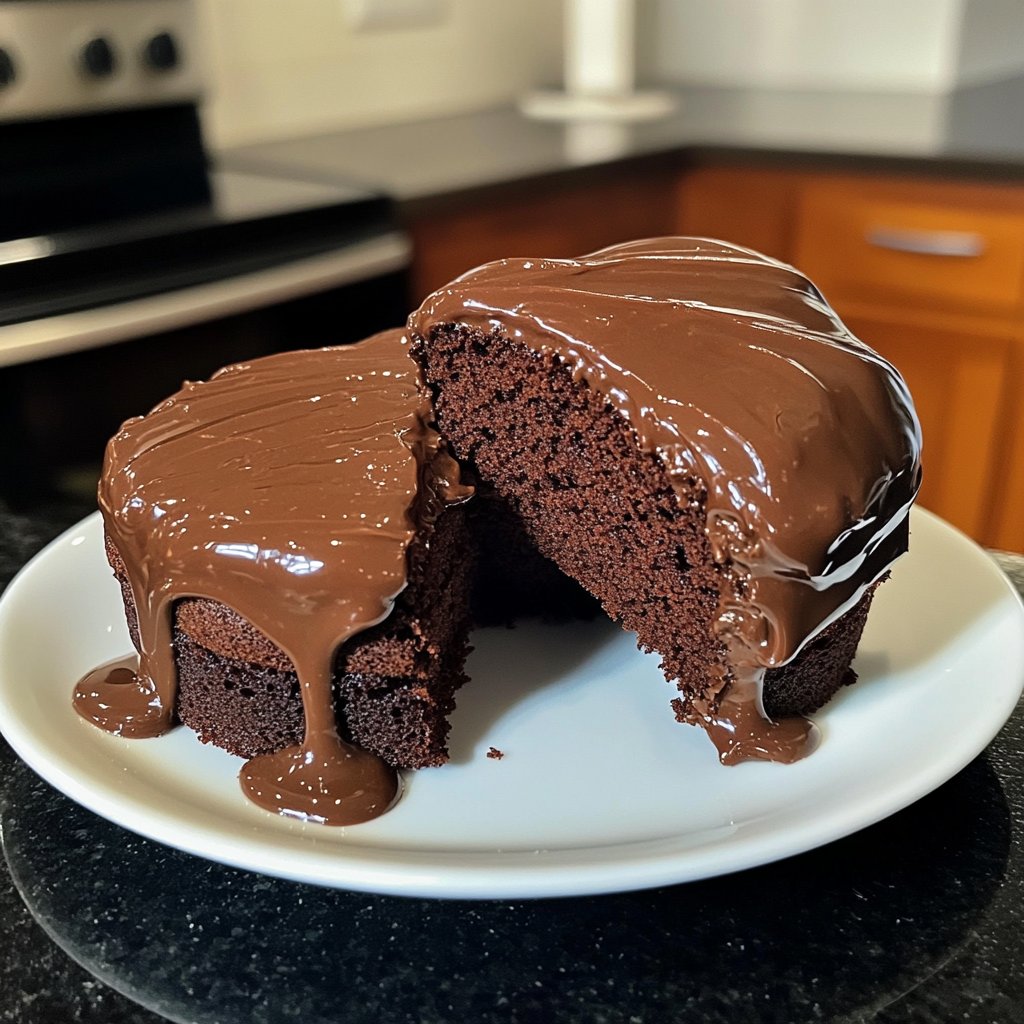
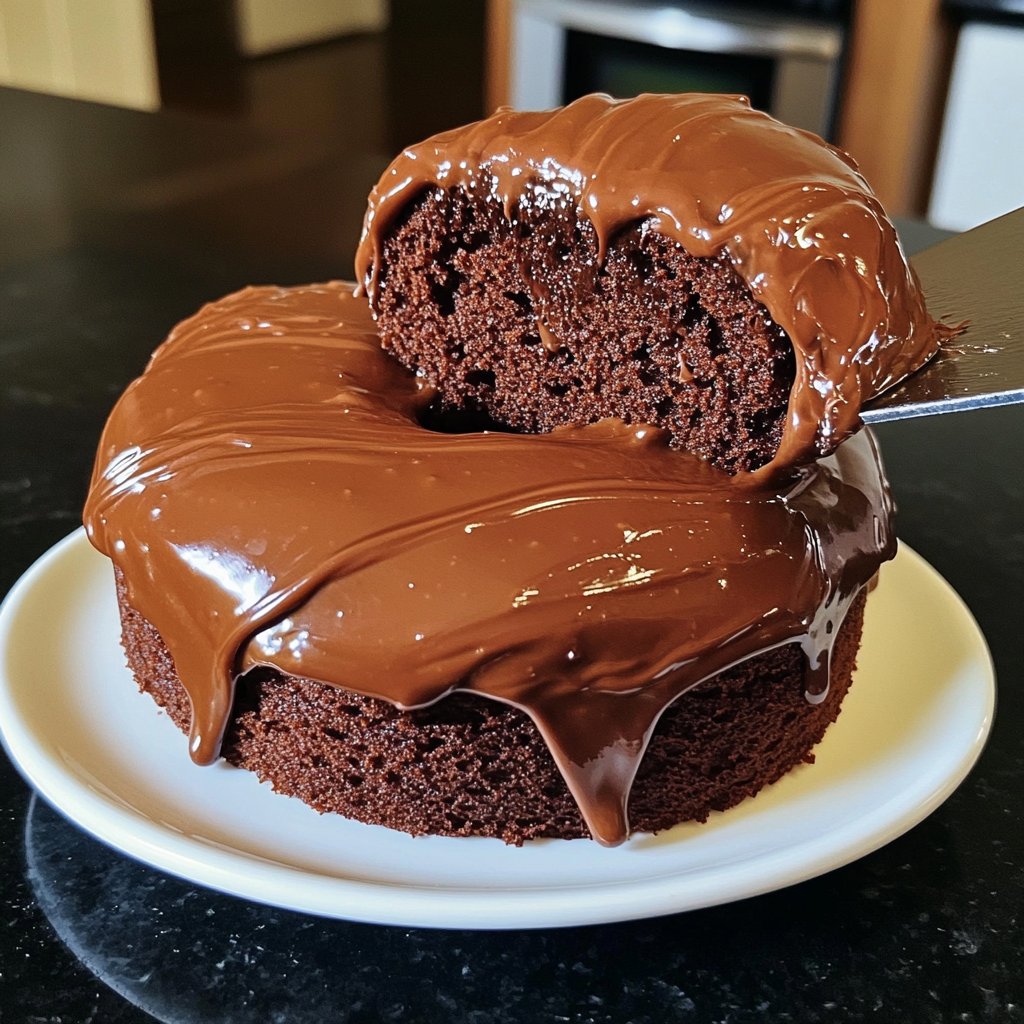
I absolutely love making Mini Heart Cakes, especially when they feature a rich chocolate sponge. The combination of moist chocolate and a light whipped cream feels indulgent yet charming. These little cakes are perfect for any occasion, and I find they add a personal touch to celebrations. Don’t be intimidated by their dainty appearance; they’re easier to make than you might think! Allow your creativity to shine as you decorate them to match your mood or the event.
Making Mini Heart Cakes filled with chocolate sponge was a delightful experiment in my kitchen. I remember the first time I baked them; the aroma of chocolate filled the air and excitement brewed as I removed them from the oven. The key to a fluffy sponge is to beat the eggs well and fold the flour gently, which preserves that airy texture. It’s a technique I’ve grown to master over time!
During my most recent bake, I tried adding a hint of espresso powder to the batter, and it elevated the chocolate flavor remarkably. These cakes don’t just look adorable; each bite is a blend of sweetness and sophistication. I can’t wait for you to try them!
Why You'll Love This Recipe
- Delicate mini size makes them perfect for sharing or gifting.
- Rich chocolate flavor pairs beautifully with light whipped cream.
- Fun and creative decorating options for any celebration.
The Importance of Room Temperature Ingredients
When making the chocolate sponge, ensure that your eggs are at room temperature. This allows them to incorporate easily into the batter, resulting in a smoother texture. Cold eggs can lead to a lumpy mixture, which affects the overall structure of your cake. I recommend taking them out of the fridge at least 30 minutes before you start mixing to help achieve that perfectly fluffy sponge.
Additionally, using boiling water in the batter is crucial. It activates the cocoa powder and helps to dissolve and hydrate the dry ingredients, leading to a moist and rich cake. Make sure your water is at a rolling boil, and pour it in carefully to avoid splashing. This step also helps to enhance the chocolate flavor, elevating the overall taste of the cake.
Whipping the Perfect Cream
Achieving the right texture when whipping the cream is essential. Use chilled heavy whipping cream and a cold mixing bowl for best results; this helps the cream whip up faster and increases the volume. Whip on medium speed until you see soft peaks forming. If you overbeat, the cream can turn into butter, so keep a close eye on it as you whip.
The addition of powdered sugar and vanilla not only sweetens the cream but also provides stabilizers. If you're looking for a light, fluffy filling that holds its shape, consider adding a teaspoon of cornstarch to the powdered sugar mixture, especially if you plan to decorate your cakes ahead of time.
Decorating Tips and Variations
When it comes to decorating your Mini Heart Cakes, creativity is key. For a glossy finish, you can drizzle melted dark chocolate over the top before adding your whipped cream and decorations. Chocolate ganache can also be used to create a beautiful centerpiece. Simply heat equal parts cream and chocolate until smooth, then let it cool slightly before pouring.
If you're looking to customize flavors, consider infusing the whipped cream with different extracts or adding a hint of coffee for a mocha twist. You can also swap out the chocolate sponge for a vanilla or a red velvet cake if you desire variety. This adaptability makes the Mini Heart Cake not only a sweet treat but a canvas for your personal touch.
Ingredients
Gather all your ingredients before you start for a smooth baking experience!
For the Chocolate Sponge
- 1 cup all-purpose flour
- 1 cup granulated sugar
- 1/2 cup unsweetened cocoa powder
- 1/2 cup vegetable oil
- 2 large eggs
- 1 teaspoon baking powder
- 1/2 teaspoon baking soda
- 1/4 teaspoon salt
- 1 teaspoon vanilla extract
- 1/2 cup boiling water
For the Whipped Cream Filling
- 1 cup heavy whipping cream
- 2 tablespoons powdered sugar
- 1 teaspoon vanilla extract
For Decoration
- Chocolate shavings or sprinkles
- Fresh berries (optional)
Ensure all ingredients are at room temperature for the best results.
Instructions
Preheat your oven and prepare your baking trays.
Prepare the Oven and Trays
Preheat your oven to 350°F (175°C) and grease your heart-shaped cake pans.
Mix Dry Ingredients
In a bowl, combine flour, sugar, cocoa powder, baking powder, baking soda, and salt. Whisk together until well mixed.
Combine Wet Ingredients
In another bowl, whisk together vegetable oil, eggs, and vanilla extract. Mix unti smooth.
Combine Wet and Dry Mixtures
Slowly add the wet mixture into the dry ingredients, mixing gently. Gradually incorporate boiling water until the batter is well combined.
Bake the Cakes
Pour the batter equally into heart-shaped pans and bake for 20-25 minutes. A toothpick should come out clean.
Cool and Create Filling
Let cakes cool before removing them from pans. Whip the heavy cream with powdered sugar and vanilla until soft peaks form.
Assemble the Cakes
Once cooled, slice the cakes in half horizontally, fill with whipped cream, and stack them back together.
Decorate
Top with additional whipped cream, chocolate shavings, or berries for an elegant finish.
Let the cakes chill for a bit in the refrigerator before serving for a firmer texture.
Pro Tips
- For an extra kick, try adding a splash of your favorite liqueur to the whipped cream!
Storage and Make-Ahead Tips
These Mini Heart Cakes can be made ahead of time, making them perfect for gatherings. Once baked and cooled, you can wrap them tightly in plastic wrap and refrigerate for up to three days. If you’re looking to store them longer, they can be frozen before assembling. Just remember to thaw in the fridge overnight before serving to maintain that freshly baked flavor.
When assembling, avoid adding the whipped cream until you're ready to decorate to minimize sogginess. If you need to store assembled cakes, place them in an airtight container in the fridge for no more than a day to ensure the sponge remains light and the cream stays fresh.
Scaling Up for Larger Celebrations
If you want to scale up the recipe for a larger gathering, consider making a standard-sized heart cake instead of miniatures. Simply double the ingredients and use a larger heart-shaped pan. Adjust baking time accordingly; larger cakes may take an additional 10-15 minutes but always check for doneness with a toothpick.
You can also prepare a variety of flavors by creating multiple batters in different bowls before baking. Half chocolate and half vanilla can provide a delightful surprise for guests, while still allowing for the same whipped cream decoration. Just ensure that you properly label the cakes to avoid any mix-ups!
Troubleshooting Common Issues
If your cakes don't rise as expected, it could be due to outdated baking powder or baking soda. It's essential to check that these leavening agents are fresh, as they directly impact the fluffiness of your sponge. Additionally, be sure to mix gently to retain air bubbles in the batter; overmixing can lead to dense cakes.
In the event that your whipped cream doesn't hold its shape, consider adding a firming agent like gelatin. Dissolve a teaspoon of gelatin in a tablespoon of warm water and let it cool slightly before whisking it into your cream when it’s just starting to thicken. This will help your whipped cream maintain its texture even if the cakes are made a few hours in advance.
Questions About Recipes
→ Can I make these cakes ahead of time?
Yes! You can bake the cakes a day in advance and store them wrapped in the fridge.
→ What can I substitute for the eggs?
You can use flax eggs or applesauce as a substitute for eggs for a vegan version.
→ How do I store leftover cakes?
Store in an airtight container in the refrigerator for up to three days.
→ Can I freeze the mini cakes?
Absolutely! Wrap them tightly in plastic wrap and place in a freezer-safe bag for up to two months.
Mini Heart Cake with Chocolate Sponge
Created by: Ariana Brooks
Recipe Type: Dessert & Baking Essentials
Skill Level: Intermediate
Final Quantity: 4 servings
What You'll Need
For the Chocolate Sponge
- 1 cup all-purpose flour
- 1 cup granulated sugar
- 1/2 cup unsweetened cocoa powder
- 1/2 cup vegetable oil
- 2 large eggs
- 1 teaspoon baking powder
- 1/2 teaspoon baking soda
- 1/4 teaspoon salt
- 1 teaspoon vanilla extract
- 1/2 cup boiling water
For the Whipped Cream Filling
- 1 cup heavy whipping cream
- 2 tablespoons powdered sugar
- 1 teaspoon vanilla extract
For Decoration
- Chocolate shavings or sprinkles
- Fresh berries (optional)
How-To Steps
Preheat your oven to 350°F (175°C) and grease your heart-shaped cake pans.
In a bowl, combine flour, sugar, cocoa powder, baking powder, baking soda, and salt. Whisk together until well mixed.
In another bowl, whisk together vegetable oil, eggs, and vanilla extract. Mix unti smooth.
Slowly add the wet mixture into the dry ingredients, mixing gently. Gradually incorporate boiling water until the batter is well combined.
Pour the batter equally into heart-shaped pans and bake for 20-25 minutes. A toothpick should come out clean.
Let cakes cool before removing them from pans. Whip the heavy cream with powdered sugar and vanilla until soft peaks form.
Once cooled, slice the cakes in half horizontally, fill with whipped cream, and stack them back together.
Top with additional whipped cream, chocolate shavings, or berries for an elegant finish.
Extra Tips
- For an extra kick, try adding a splash of your favorite liqueur to the whipped cream!
Nutritional Breakdown (Per Serving)
- Calories: 380 kcal
- Total Fat: 26g
- Saturated Fat: 15g
- Cholesterol: 195mg
- Sodium: 85mg
- Total Carbohydrates: 32g
- Dietary Fiber: 3g
- Sugars: 24g
- Protein: 6g