Veggie Sliders with Garlic Aioli
Highlighted under: International Plate Stories
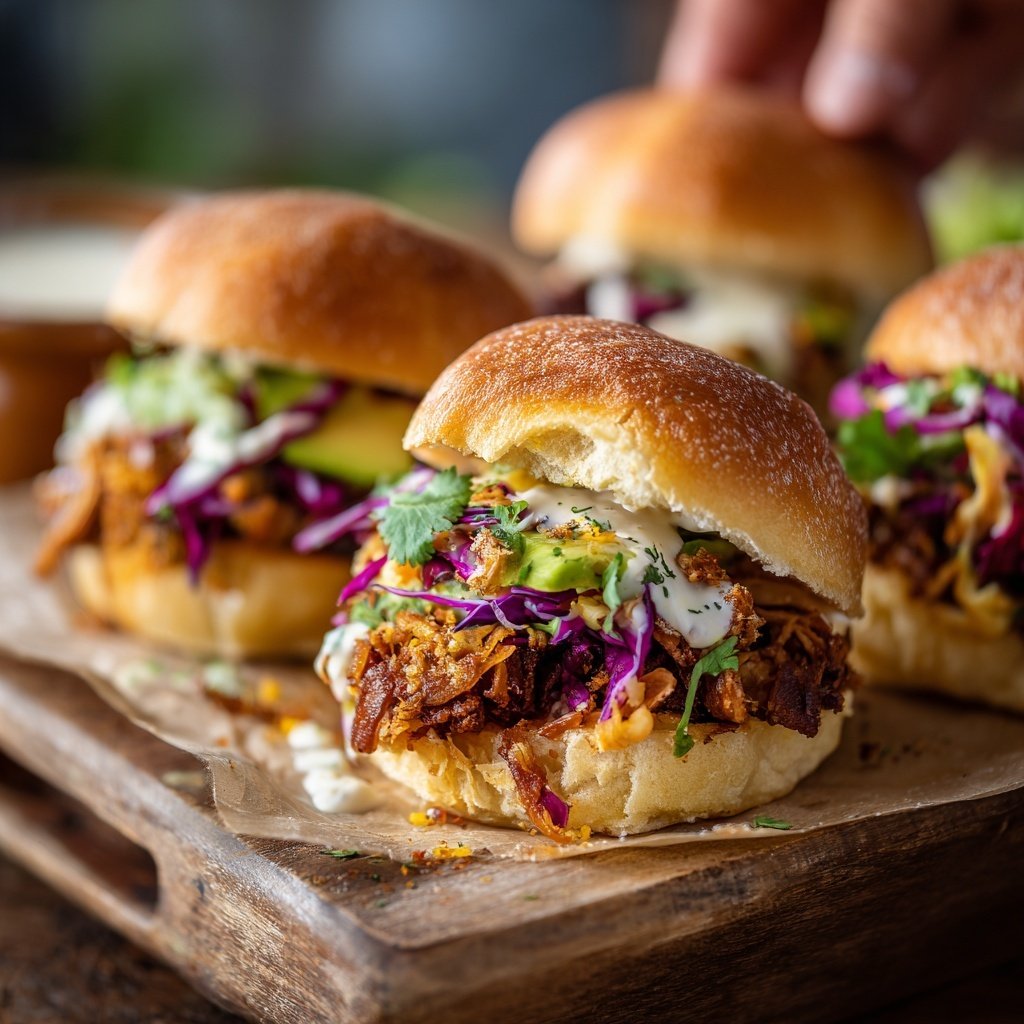
I absolutely love making Veggie Sliders with Garlic Aioli for a quick and satisfying meal. These sliders offer the perfect balance of flavors and textures, thanks to the combination of veggies and spices. Each bite is a delicious surprise, enhanced by the creamy garlic aioli, which takes them to a whole new level. Whether I’m hosting friends or enjoying a casual dinner at home, these sliders never fail to impress. They’re easy to prepare and will surely become a staple in my cooking repertoire.
When I first experimented with veggie sliders, I was surprised by how quickly they became a favorite in my household. I decided to use a mix of black beans, quinoa, and vegetables, which creates a hearty and satisfying texture. The real magic happens when you top them with a homemade garlic aioli, adding a punch of flavor that elevates the entire dish.
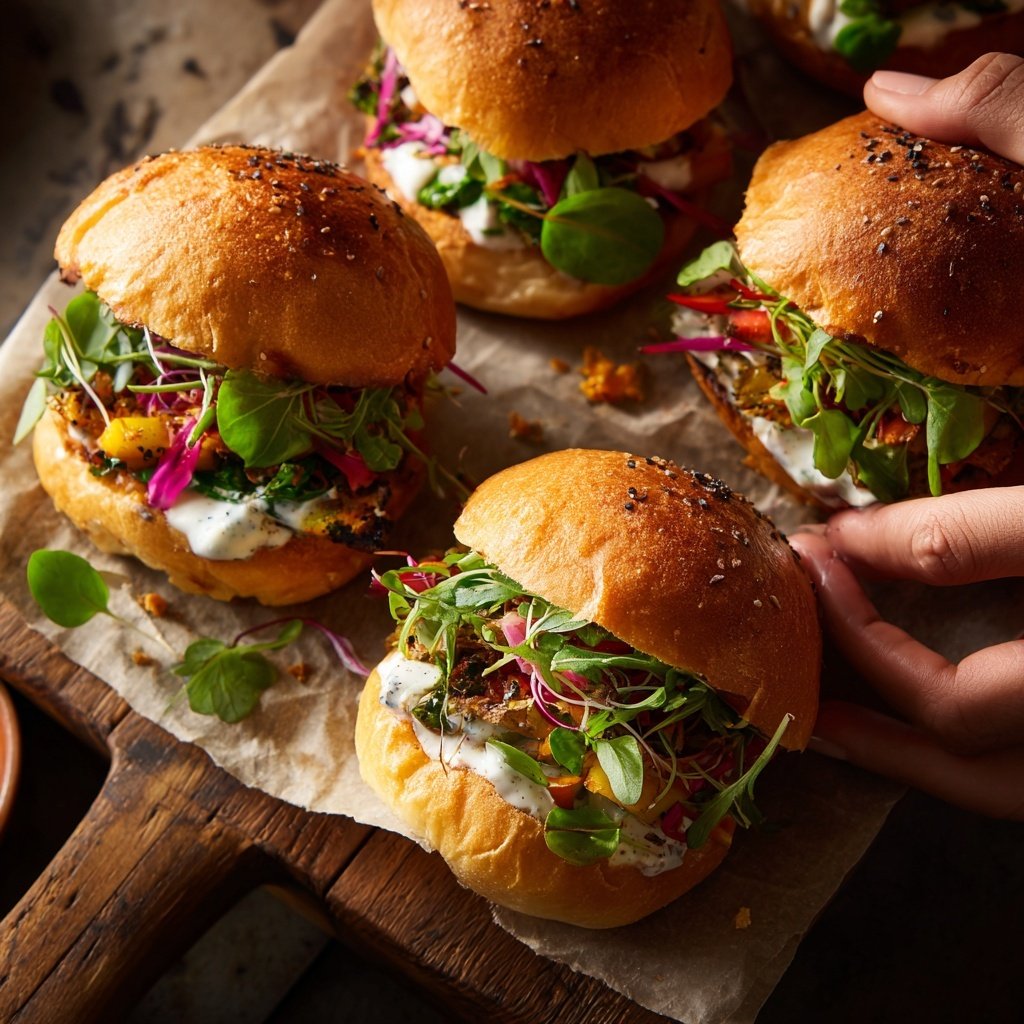
One tip I found helpful is to chill the slider patties for about 10 minutes before cooking them. This extra step helps them hold their shape better during cooking, ensuring a perfect slider every time. I like serving them on soft slider buns with fresh toppings for a delightful bite.
Why You'll Love These Sliders
- Packed with nutritious veggies for a guilt-free snack
- Creamy garlic aioli adds a burst of flavor
- Perfect for parties or a quick dinner
- Easy to customize with your favorite toppings
Creating Flavorful Sliders
The heart of these veggie sliders lies in the blend of ingredients used. The quinoa not only provides a nutritious base but also acts as a binder, giving the patties a satisfying texture. Black beans, packed with protein and fiber, contribute to the earthy flavor. Ensure the beans are well-drained and rinsed to avoid excess moisture, which can lead to mushy patties. A proper mash enables the ingredients to meld well, so I like to use a fork for a rustic texture while still breaking them down enough to hold together.
Another key ingredient is the corn, which adds a natural sweetness and crunch. You can use frozen corn for convenience—thawing it before adding it to the mixture. The ratio of breadcrumbs plays a vital role as well; too many can make the sliders dry, while too few can lead to crumbling patties. Adjusting this ratio based on your desired texture is a practical tip to keep in mind.
Perfecting the Garlic Aioli
The garlic aioli is a game-changer for these sliders. Using fresh garlic creates a vibrant taste that elevates every bite. I recommend mincing the garlic finely to ensure it blends well with the mayonnaise and doesn’t overpower the dish. If you're sensitive to raw garlic, consider roasting it beforehand for a milder, sweeter flavor. Additionally, feel free to adjust the lemon juice according to your taste—adding a little more can enhance the freshness and cut through the creaminess of the aioli.
For a fun twist, try adding fresh herbs like dill or parsley to the aioli for extra depth. These herbs not only introduce fresh flavors but also pair beautifully with the veggie sliders. For a lighter version, consider substituting Greek yogurt for half the mayonnaise, giving the aioli a tangy bite while significantly reducing calories.
Serving and Storing Tips
When serving the sliders, consider a variety of toppings to complement the flavors, such as sliced avocado, fresh spinach, or pickled jalapeños. These additions not only enhance texture and taste but also make your presentation appealing. Serving them with a side of sweet potato fries or a light salad can round out your meal beautifully—creating an inviting spread that’s also nutritious.
If you need to prepare these sliders ahead of time, you can form and freeze the patties uncooked. Lay them out on a baking sheet lined with parchment paper, freeze until solid, and then transfer them to a Ziploc bag for long-term storage. This way, you can simply cook them straight from the freezer when you're ready, adding a few extra minutes to the cooking time, ensuring that you have a delicious meal on hand whenever you desire.
Ingredients
Gather your ingredients before starting this delicious recipe.
For the Sliders
- 1 cup cooked quinoa
- 1 can black beans, drained and rinsed
- 1 cup breadcrumbs
- 1/2 cup corn
- 1/2 bell pepper, diced
- 1/4 cup chopped onion
- 2 cloves garlic, minced
- 1 tsp cumin
- Salt and pepper to taste
- Olive oil for frying
For the Garlic Aioli
- 1/2 cup mayonnaise
- 2 cloves garlic, minced
- 1 tsp lemon juice
- Salt and pepper to taste
Make sure to mix everything well to combine the flavors before forming the patties.
Instructions
Follow these simple steps to create your veggie sliders.
Prepare the Garlic Aioli
In a small bowl, combine mayonnaise, minced garlic, lemon juice, salt, and pepper. Mix well and set aside.
Make the Slider Mixture
In a large bowl, mash the black beans. Add quinoa, breadcrumbs, corn, bell pepper, onion, garlic, cumin, salt, and pepper. Mix until well combined.
Form the Patties
Shape the mixture into small patties about the size of your slider buns. If desired, refrigerate them for about 10 minutes.
Cook the Sliders
In a large skillet, heat olive oil over medium heat. Cook the patties for about 4-5 minutes on each side until golden brown and heated through.
Assemble the Sliders
Place each patty on a slider bun, top with garlic aioli, and add any additional toppings you prefer.
Serve immediately and enjoy your delicious veggie sliders!
Pro Tips
- Feel free to experiment with different vegetables or spices to suit your taste. You can also serve the sliders with a side of sweet potato fries for a complete meal.
Nutritious Ingredient Insights
The black beans in this slider recipe are not just for texture; they are rich in fiber and protein, making them an excellent meat substitute. They help keep you feeling full and satisfied, which is essential for any meal. By ensuring the beans are fully drained and rinsed, you prevent excess moisture that can lead to a soggy slider, maintaining that perfect patty structure.
Quinoa not only adds nutritional value but also gives the sliders a pleasant chewiness. Ensure it's properly cooked—fluffy and tender, without being mushy. This not only holds the patties together but offers a nutty flavor that pairs well with the spices involved in the recipe. To save time, consider cooking a larger batch ahead of time; it keeps well in the fridge and can be used in various recipes throughout the week.
Customizing Your Sliders
One of the best aspects of this recipe is its adaptability. If you have other vegetables on hand, such as grated carrots, zucchini, or mushrooms, feel free to incorporate them into the slider mix. Just keep in mind to sauté any vegetables with high water content beforehand to prevent sogginess. This opens up a world of flavor combinations—you can tailor them to your preference or whatever you have available in your kitchen.
For a spicier kick, consider adding chili flakes or diced jalapeños to the patty mixture, adjusting the amount based on your heat tolerance. If you're aiming for a gluten-free option, substitute breadcrumbs with ground oats or gluten-free breadcrumbs, ensuring everyone at your table can enjoy these delicious sliders.
Cooking Techniques
When frying the patties, be sure to preheat your skillet over medium heat before adding oil. A properly heated pan helps achieve that golden-brown crust that enhances flavor and texture. If the patties stick, they might not have enough oil or the pan might not be hot enough. I recommend using a non-stick skillet if you have one, which can make cooking and flipping much easier, ensuring that your sliders stay intact.
Cooking time is also crucial. Aim for about 4-5 minutes on each side, watching for a golden edge as a cue to flip. Avoid overcrowding the skillet; working in batches ensures even cooking and crispiness on all sides. If you find your sliders are browning too quickly, lower the heat slightly to allow the centers to heat through without burning the outsides.
Questions About Recipes
→ Can I make the sliders in advance?
Yes, you can prepare the slider mixture and form the patties ahead of time. Just store them in the refrigerator until you're ready to cook.
→ Are these sliders gluten-free?
To make them gluten-free, use gluten-free breadcrumbs.
→ Can I bake the sliders instead of frying them?
Absolutely! Bake them at 375°F (190°C) for about 20-25 minutes, flipping halfway through.
→ What can I serve with these sliders?
These sliders pair well with a variety of sides like salad, sweet potato fries, or roasted vegetables.
Veggie Sliders with Garlic Aioli
Created by: Ariana Brooks
Recipe Type: International Plate Stories
Skill Level: Easy
Final Quantity: 4 servings
What You'll Need
For the Sliders
- 1 cup cooked quinoa
- 1 can black beans, drained and rinsed
- 1 cup breadcrumbs
- 1/2 cup corn
- 1/2 bell pepper, diced
- 1/4 cup chopped onion
- 2 cloves garlic, minced
- 1 tsp cumin
- Salt and pepper to taste
- Olive oil for frying
For the Garlic Aioli
- 1/2 cup mayonnaise
- 2 cloves garlic, minced
- 1 tsp lemon juice
- Salt and pepper to taste
How-To Steps
In a small bowl, combine mayonnaise, minced garlic, lemon juice, salt, and pepper. Mix well and set aside.
In a large bowl, mash the black beans. Add quinoa, breadcrumbs, corn, bell pepper, onion, garlic, cumin, salt, and pepper. Mix until well combined.
Shape the mixture into small patties about the size of your slider buns. If desired, refrigerate them for about 10 minutes.
In a large skillet, heat olive oil over medium heat. Cook the patties for about 4-5 minutes on each side until golden brown and heated through.
Place each patty on a slider bun, top with garlic aioli, and add any additional toppings you prefer.
Extra Tips
- Feel free to experiment with different vegetables or spices to suit your taste. You can also serve the sliders with a side of sweet potato fries for a complete meal.
Nutritional Breakdown (Per Serving)
- Calories: 350 kcal
- Total Fat: 15g
- Saturated Fat: 2g
- Cholesterol: 0mg
- Sodium: 300mg
- Total Carbohydrates: 45g
- Dietary Fiber: 7g
- Sugars: 3g
- Protein: 10g