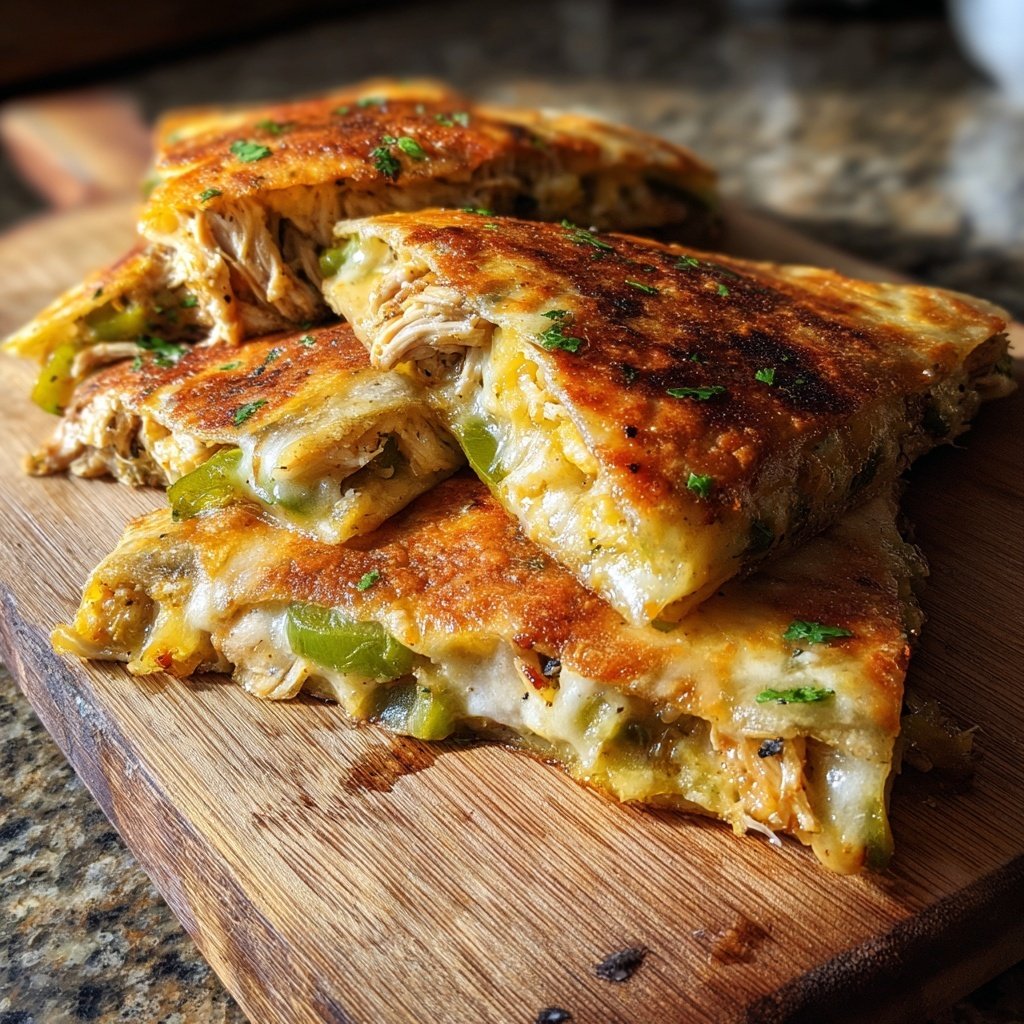
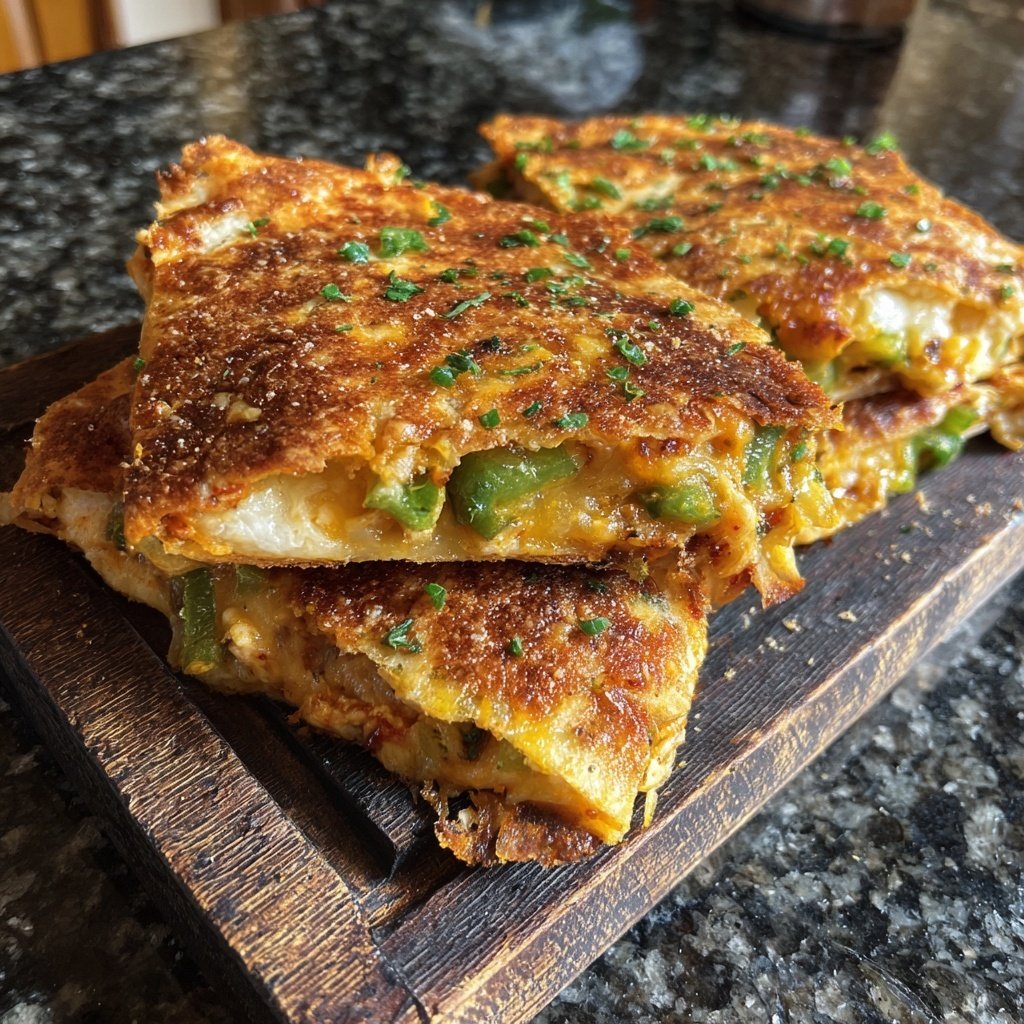
Rotisserie Chicken Quesadilla Bake
Highlighted under: Quick Meal Shortcuts
I absolutely adore a good quesadilla, and this Rotisserie Chicken Quesadilla Bake has quickly become one of my favorite go-to meals. With the savory flavors of rotisserie chicken mingling with melted cheese and crunchy tortillas, it creates a dish that is not only delicious but also incredibly convenient. Often, I find myself short on time during dinner prep, so using pre-cooked chicken makes this recipe a breeze. Coupled with fresh toppings, this baked goodness is always a hit at my table.
When I first tried making a quesadilla bake, I realized just how adaptable this dish could be. Using rotisserie chicken not only adds layers of flavor but also cuts down on my preparation time. I can easily customize the fillings based on what I have on hand, making this an excellent use of any leftover ingredients.
One tip I learned is to bake the quesadilla at a high temperature to achieve that perfect crispy tortilla while keeping the inside cheesy and gooey. It’s the ideal balance, and I can’t resist serving it hot with toppings like avocado and salsa for an extra punch.
Why You'll Love This Recipe
- Savory rotisserie chicken paired with gooey cheese
- Easily customizable with your favorite toppings
- Perfect for meal prep and busy weeknights
Perfecting Your Filling
The key to an exceptional quesadilla bake lies in the filling. As you mix the shredded rotisserie chicken with salsa and cheese, keep in mind the balance of flavors. Opt for a mild salsa if you're serving kids, or add a spicy variety for a bolder kick. The taco seasoning not only enhances the flavor but also brings a warmth that pairs beautifully with the melted cheese. Don’t hesitate to taste the mixture; adjusting the seasoning to your liking before assembling is crucial for achieving the best results.
To prevent a soggy quesadilla bake, ensure your ingredients are well-drained. For instance, if your salsa is watery, consider straining it through a fine mesh sieve. This step is particularly important since excess moisture can cause the tortillas to become limp rather than crispy. If you want to introduce veggie elements, finely chopped bell peppers or corn mixed into the filling can add a delightful crunch and freshness without making the mixture too wet.
Assembling Like a Pro
When it comes to assembly, using a large baking sheet is essential for accommodating all tortillas without crowding. I recommend a rimmed baking sheet to catch any melted cheese that might escape during baking. Lay your tortillas out flat and make sure the filling covers only half of each tortilla. This method allows for easier flipping, which affects the crispiness of the final product. If you find your tortillas tearing, warming them briefly in a skillet can make them more pliable and easier to work with.
Remember to coat the tops with olive oil generously! This is not just for flavor; the oil promotes a golden, crispy texture that enhances the overall eating experience. If you're looking for a healthier option, you could use an oil spray instead. Whichever method you choose, a sufficient amount of oil is vital—those golden edges are what you're aiming for, so don’t skimp on this step.
Ingredients for Rotisserie Chicken Quesadilla Bake
For the Quesadilla Bake
- 2 cups shredded rotisserie chicken
- 4 large flour tortillas
- 2 cups shredded Mexican cheese blend
- 1 cup salsa
- 1/2 cup chopped green onions
- 1/4 cup chopped cilantro (optional)
- 1 tablespoon olive oil
- 1 teaspoon taco seasoning
Steps to Make Rotisserie Chicken Quesadilla Bake
Preheat the Oven
Preheat your oven to 400°F (200°C).
Mix the Filling
In a mixing bowl, combine the shredded rotisserie chicken, salsa, chopped green onions, taco seasoning, and half of the cheese.
Assemble the Quesadillas
Lay one tortilla flat on a baking sheet. Spread a generous layer of the chicken mixture on half of the tortilla, then fold it over. Repeat with the remaining tortillas.
Add Olive Oil
Brush the top of each folded tortilla with olive oil, ensuring they are well-coated for a crisp texture.
Bake
Bake in the preheated oven for 20 minutes or until golden brown and crispy. Five minutes before they are done, sprinkle the remaining cheese on top and return to the oven to melt.
Serve
Remove from the oven and let cool slightly. Cut into wedges and serve with cilantro and additional salsa on the side.
Pro Tips
- Feel free to add additional fillings such as bell peppers or black beans to enhance flavor and texture. You can also use corn tortillas for a gluten-free option.
Storing and Meal Prep
This Rotisserie Chicken Quesadilla Bake is ideal for meal prep, and you can make it ahead of time. After layering the tortillas and filling, cover the baking sheet with plastic wrap and refrigerate for up to 24 hours. When you’re ready to bake, preheat your oven and let it come to room temperature while the oven heats. This prevents the tortillas from becoming too hard or dry during baking, ensuring you retain that desirable crispy texture.
If you have leftovers, they can be stored in an airtight container in the fridge for up to three days. To reheat, I recommend placing them in an oven at 350°F (175°C) for about 10-15 minutes. This will help maintain the crispiness versus using a microwave, which tends to make tortillas chewy. Freezing is also an option; just make sure to separate layers with parchment paper to avoid sticking together.
Creative Variations
Feel free to get adventurous with the fillings! Swap out the rotisserie chicken for pulled pork, turkey, or even a fragrant mixture of sautéed mushrooms and vegetables for a vegetarian option. If you're looking to reduce carbohydrates, using low-carb tortillas is a great substitution. Just keep in mind to choose a variety that holds up well to baking for the best results.
In addition to customizing the fillings, you can also play around with toppings when serving. Consider adding a dollop of sour cream, fresh guacamole, or even a drizzle of creamy avocado sauce. A fresh side salad with lime vinaigrette can complement the heaviness of the quesadilla bake beautifully, adding brightness and enhancing your meal experience.
Questions About Recipes
→ Can I use chicken breast instead of rotisserie chicken?
Yes, you can use shredded cooked chicken breast, but rotisserie chicken adds extra flavor and convenience.
→ How can I make this recipe spicier?
You can add jalapeños to the chicken mixture or use spicy salsa as a topping.
→ Can I make this ahead of time?
Absolutely! You can prepare the filling and assemble the quesadillas a few hours in advance. Just cover and refrigerate until you’re ready to bake.
→ What can I serve with quesadilla bake?
This dish pairs well with sour cream, guacamole, and a fresh salad for a complete meal.
Rotisserie Chicken Quesadilla Bake
Created by: Ariana Brooks
Recipe Type: Quick Meal Shortcuts
Skill Level: Easy
Final Quantity: 4 servings
What You'll Need
For the Quesadilla Bake
- 2 cups shredded rotisserie chicken
- 4 large flour tortillas
- 2 cups shredded Mexican cheese blend
- 1 cup salsa
- 1/2 cup chopped green onions
- 1/4 cup chopped cilantro (optional)
- 1 tablespoon olive oil
- 1 teaspoon taco seasoning
How-To Steps
Preheat your oven to 400°F (200°C).
In a mixing bowl, combine the shredded rotisserie chicken, salsa, chopped green onions, taco seasoning, and half of the cheese.
Lay one tortilla flat on a baking sheet. Spread a generous layer of the chicken mixture on half of the tortilla, then fold it over. Repeat with the remaining tortillas.
Brush the top of each folded tortilla with olive oil, ensuring they are well-coated for a crisp texture.
Bake in the preheated oven for 20 minutes or until golden brown and crispy. Five minutes before they are done, sprinkle the remaining cheese on top and return to the oven to melt.
Remove from the oven and let cool slightly. Cut into wedges and serve with cilantro and additional salsa on the side.
Extra Tips
- Feel free to add additional fillings such as bell peppers or black beans to enhance flavor and texture. You can also use corn tortillas for a gluten-free option.
Nutritional Breakdown (Per Serving)
- Calories: 450 kcal
- Total Fat: 23g
- Saturated Fat: 10g
- Cholesterol: 75mg
- Sodium: 710mg
- Total Carbohydrates: 32g
- Dietary Fiber: 3g
- Sugars: 6g
- Protein: 30g